Staying at home means avoiding the nail salon, and as someone who always smudges regular nail polish (seriously, how is it possible that they can still be ready to smear by the time I go to bed?), I have a newfound appreciation for the variety of modern manicure solutions available. I previously reviewed Ohora's at-home gel strips , which are a great option for hassle-free designs. Another option that I really like, even though I am far from a pro, is dip powder. Dip powder is essentially an acrylic powder that contains pigments or glitters. You purchase a set of liquids that can be used with the powders of your choice for a quick and clean manicure that requires very little dry time. Dip powder is easily accessible, and if you're new to dip nails in general, I'd suggest a reasonably priced option for practice. I started with the Lavender Violets brand on Amazon, which comes with a set of powders + all the liquids you need for a beginner. I did find that the l...
Staying at home means avoiding the nail salon, and as someone who always smudges regular nail polish (seriously, how is it possible that they can still be ready to smear by the time I go to bed?), I have a newfound appreciation for the variety of modern manicure solutions available.
I previously reviewed Ohora's at-home gel strips, which are a great option for hassle-free designs. Another option that I really like, even though I am far from a pro, is dip powder.

Dip powder is essentially an acrylic powder that contains pigments or glitters. You purchase a set of liquids that can be used with the powders of your choice for a quick and clean manicure that requires very little dry time.
The first time that I tried it out, it was a disaster. I ended up with far too much excess powder on my nails, and it took me a while to even attempt doing dip powder nails a second time. So, if you're new to dip powder nails, read ahead to get started!
You Will Need
- Basic manicure tools (ie: nail trimmer, cuticle cutter/pusher).
- Rubbing alcohol.
- Dip liquids-- a base coat, activator, and a top coat. You can use a gel top coat as well, just keep in mind that you'll need an LED light to cure.
- Dip powder-- the colorful part of the manicure. Note that these often don't look the same in the jar as they will when activated.
- A fluffy brush, like a kabuki or similar.
- A nail file.
What to Do
- Start with clean, polish-free nails, trimmed and filed to the shape that you would like. Push/remove any cuticles from the nail.
- Wipe the nail with rubbing alcohol. I find that this helps with longevity.
- Paint one nail with a thin coat of the base coat. You want this to be thin, to cover your entire nail, and nothing but the nail. The dip powder will stick to this base coat, so anything that is covered will be polished.
- Gently dip your nail into the powder. You can experiment with different ways to dip, but I would suggest dipping either vertical into the pot, or at a 45-degree angle, with the nail facing upward. Pressing down with your nail facing downward or parallel to the floor results in an uneven amount of powder sticking in spots, due to varying pressure. You'll get an even result with thin base coats, and light or no pressure, just letting the powder naturally stick in a thin, even coat.
- Either brush or blow off any excess. Sometimes, brushing can cause lines to appear in the powder, so if this happens, I like to gently blow off the excess instead. I only really worry about it if I have obvious lumps and bumps on my nails. If it's smooth, I tend to leave it untouched.
- You have the option to add a second, thin coat of base coat if needed, gently repeating steps 3 and 4 until you reach the desired opacity.
- Gently coat the nail with the activator liquid. The nail dip activator tends to spread easily, and I usually don't need to "paint" it on as it spreads across the nail quickly on its own.
- Once the activator is added, your nail powder will solidify. If you need to smooth any bumps or imperfections, you can file them with your nail file at this time.
- Lastly, add a top coat. You can use a liquid top coat and let it dry, or a gel. The liquid top coats that I have used tend to dry faster than regular nail polish. However, I've recently favored clear gel nail polish, particularly when working with glitters. I really dislike having any rough glitters poking through the topcoat, so I add enough gel to encase them and smooth them out a bit, curing with an LED gel lamp.
Products I Used
- Glass nail file
- Rubbing alcohol
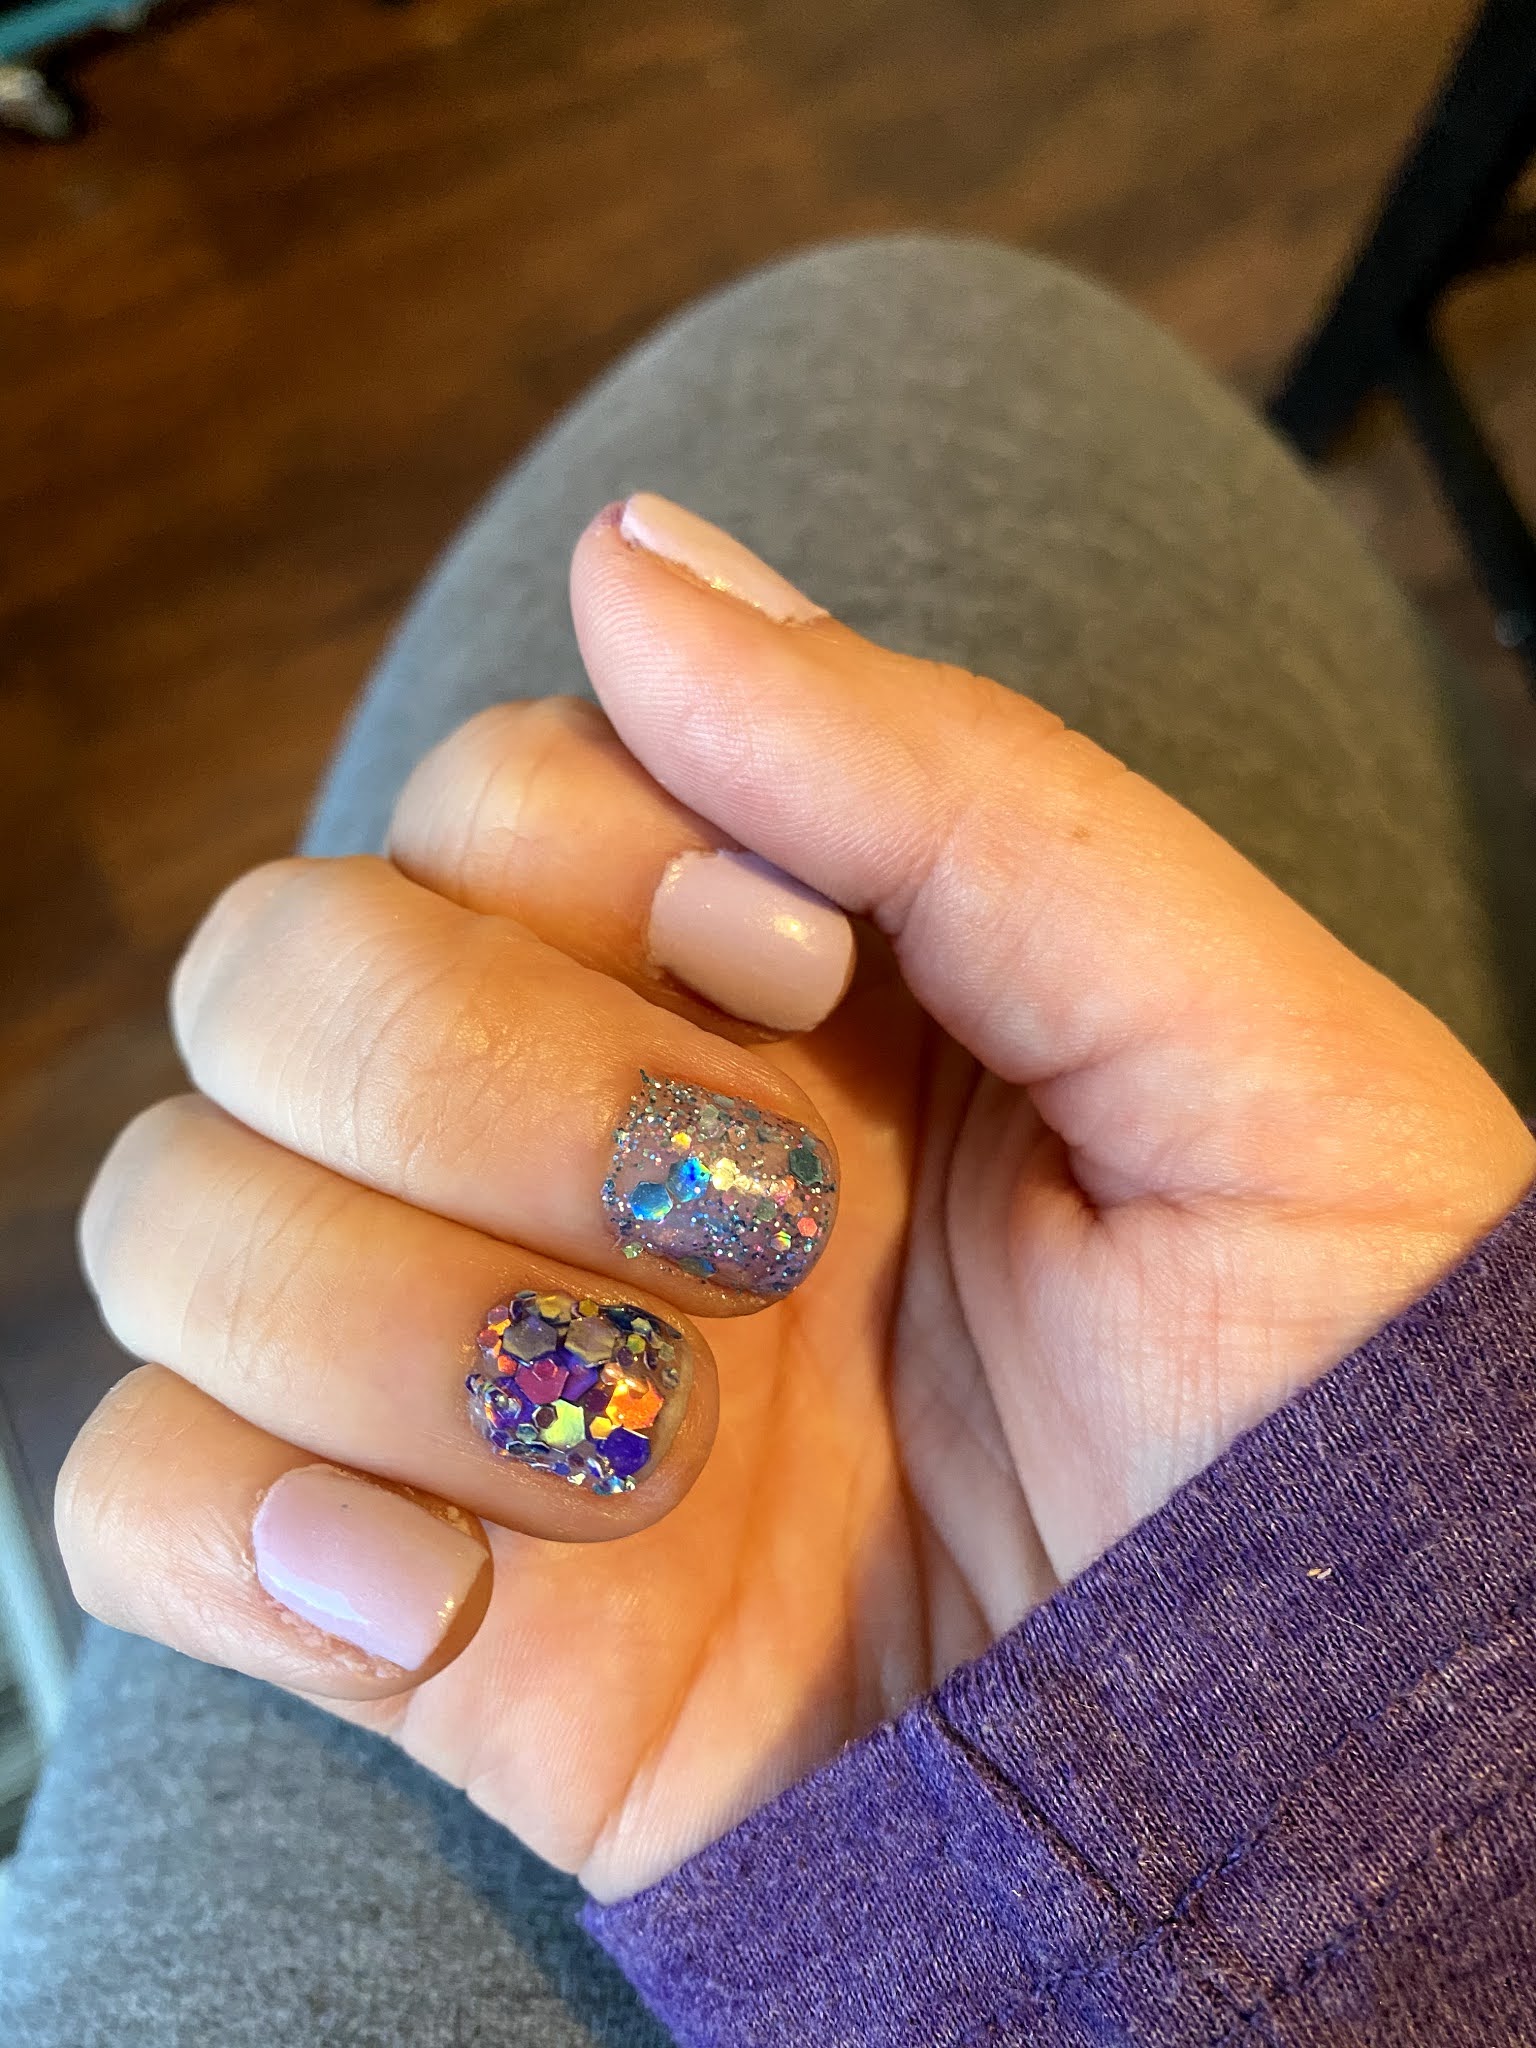
- Dip powder:
- Lavender Violets, light purple from this package of pinks/purples.
- Once Upon a Manicure, "Tamatoa" (ring finger)
- Revel Nail, "Imagine" (middle finger)
- Liquids:
- Revel Nail
- Top Coat
- Ohora Gel Top Coat + LED Lamp
As I said, I am far from a nail professional, but I find this process to be easy, and with the upgrade to Revel nail dip liquids, these nails last about 2 weeks before I lose one, but at that point I'm ready to redo them to due to new growth. For removal, you will definitely need 100% pure acetone, and a glass bowl to soak them in-- don't try plastic to hold acetone! It will eat through it immediately like a weird hallucination until the bottom of the cup falls out and will splash all over your fiance's laptop, eating through the plastic shell and rendering it useless. Allegedly.
Comments
Post a Comment